


")


You don’t need a laboratory or expensive equipment to explore the wonders of geology. The Earth’s secrets can be discovered right at home — using simple tools, basic ingredients, and a bit of curiosity.
From simulating volcanoes to growing crystals, geology experiments are a fun way to learn about rocks, minerals, and natural processes that shape our planet.
Here are 10 easy, hands-on geology experiments you can try today.
1. Make Your Own Mini Volcano
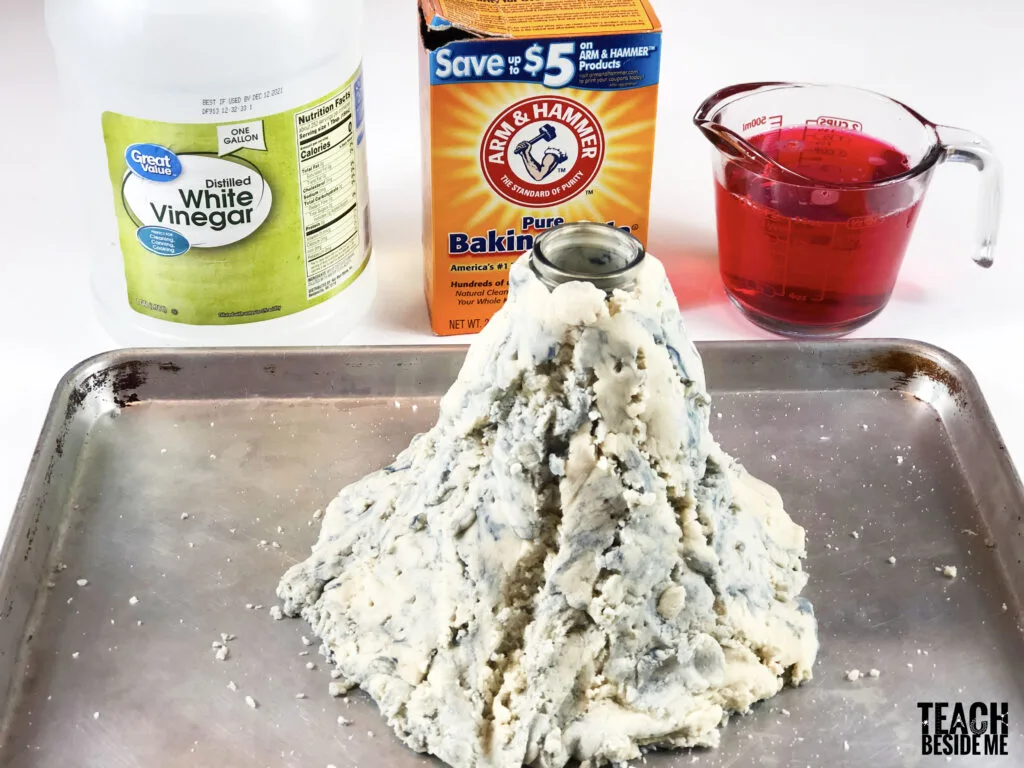
Nothing says “geology” like an erupting volcano!
This classic experiment demonstrates how pressure and gas build up inside a volcano before it erupts.
You’ll need:
- Baking soda
- Vinegar
- Dish soap
- Red food coloring (optional)
- A small container or bottle
How to do it:
- Place your container inside a tray.
- Add two tablespoons of baking soda and a few drops of food coloring.
- Pour in vinegar mixed with a few drops of dish soap.
- Watch the foamy “lava” erupt!
What’s happening:
The reaction between baking soda (a base) and vinegar (an acid) releases carbon dioxide gas — just like gas buildup inside real volcanoes.
2. Grow Your Own Crystals
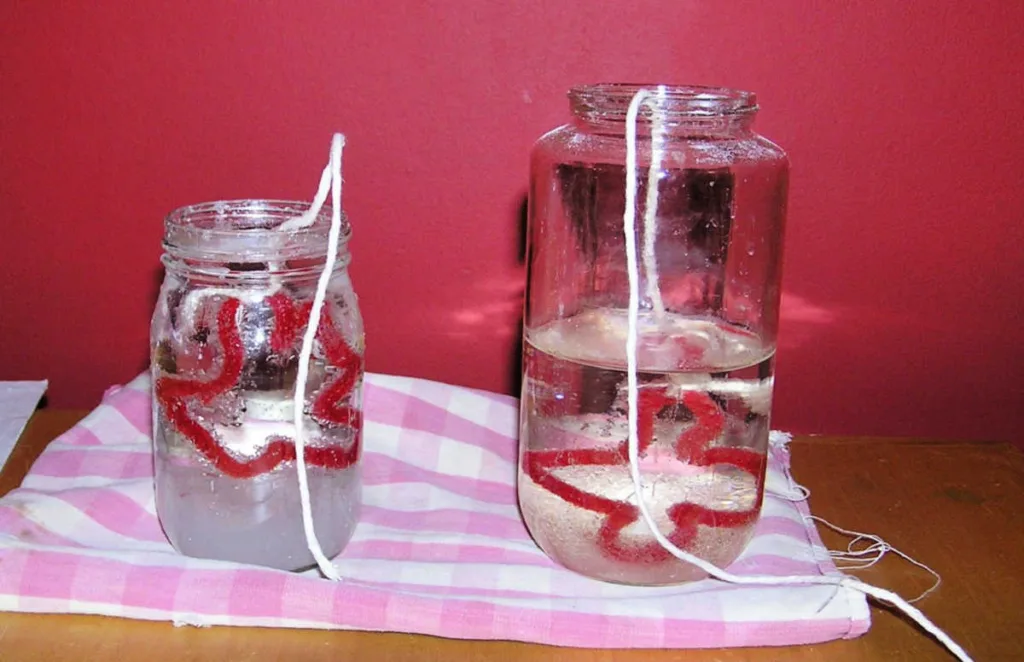
Crystals aren’t just beautiful; they show how minerals form when atoms arrange in a repeating pattern.
You’ll need:
- Table salt or sugar
- Hot water
- A glass jar
- String and a pencil
Steps:
- Dissolve salt or sugar in hot water until no more dissolves (a saturated solution).
- Tie a string to a pencil and rest it across the jar so the string hangs into the solution.
- Let it sit for several days.
Result:
Crystals will grow along the string as the water evaporates — just like mineral crystals forming in nature from cooling magma or evaporating lakes.
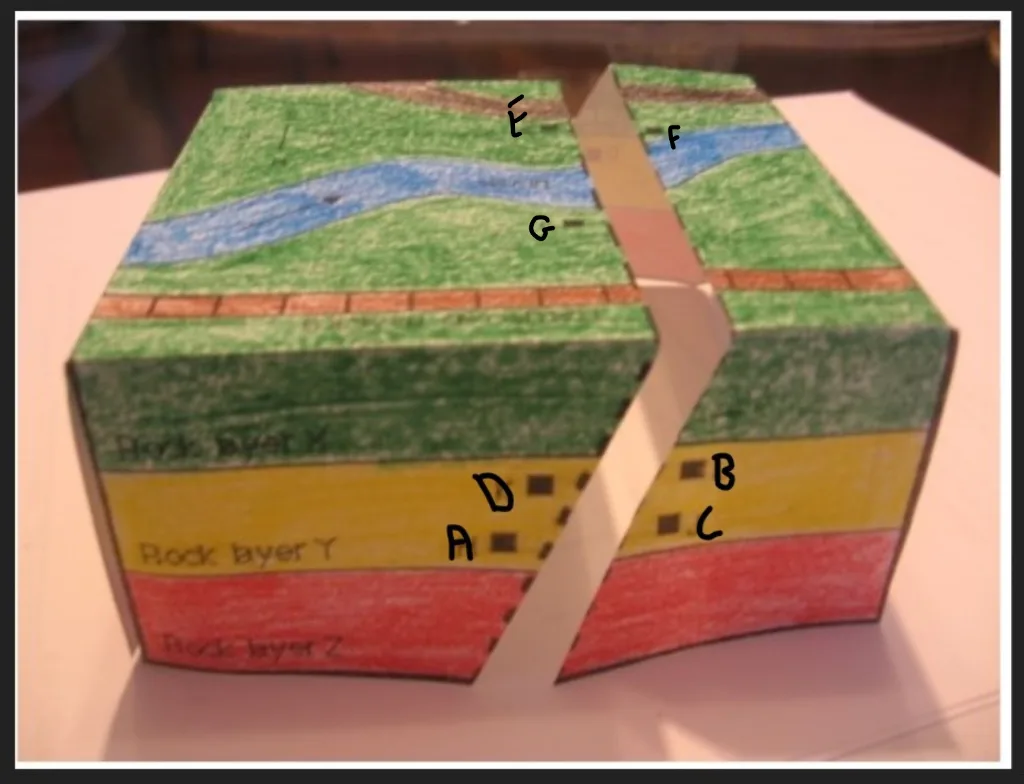
3. Create a Sedimentary Rock in a Jar
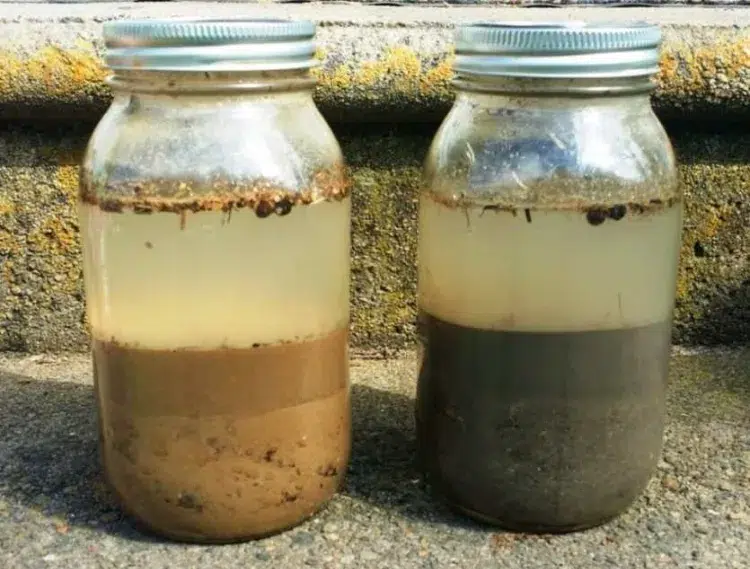
This experiment shows how layers of rock form over time through sedimentation.
You’ll need:
- A clear glass jar
- Sand, small pebbles, soil, and water
Steps:
- Add different layers of sand, soil, and gravel into the jar.
- Fill with water and shake gently.
- Let the mixture settle overnight.
What you’ll see:
The heavier materials sink first, and lighter ones settle last — forming visible layers just like sedimentary rocks in riverbeds and oceans.
4. Make Edible “Igneous Rocks” (Chocolate Lava Rocks)

Turn geology into a snack!
This fun edible model shows how igneous rocks form when molten material cools.
You’ll need:
- Melted chocolate chips
- Mini marshmallows or cereal pieces
Steps:
- Melt chocolate and stir in cereal or marshmallows.
- Spoon small mounds onto wax paper and let them cool.
Result:
As the chocolate hardens, it resembles cooled lava — the same process that forms basalt and granite.
5. Test for Mineral Hardness (Mohs Scale at Home)
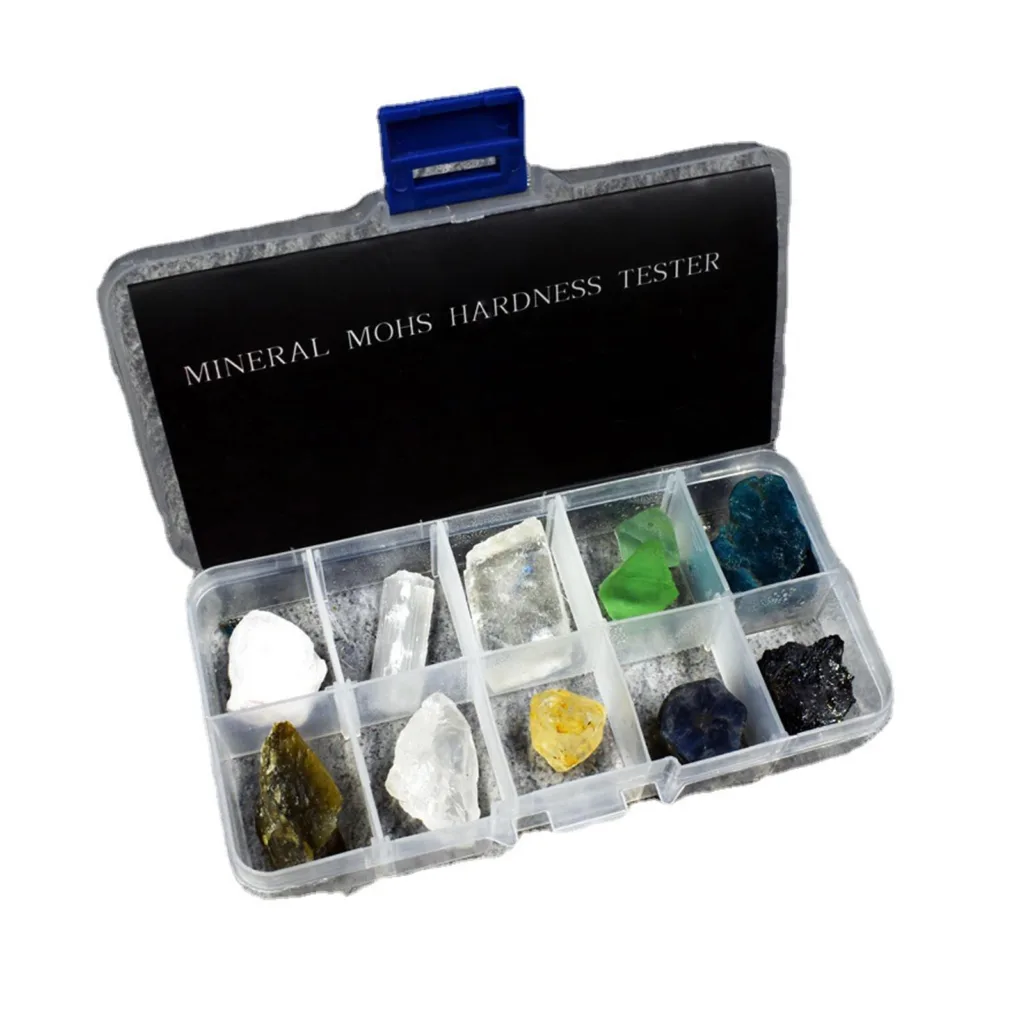
Geologists use the Mohs hardness scale to compare minerals. You can do a simple version using household items.
You’ll need:
- A coin (hardness 3)
- A steel nail (hardness 5)
- A glass plate (hardness 6)
- A few rock samples
Steps:
- Try to scratch each rock with different tools.
- Note which materials leave marks.
Observation:
If a rock can scratch glass, it’s likely quartz or harder. This shows how minerals are identified in the field.
6. Simulate Earth’s Layers with Colored Dough
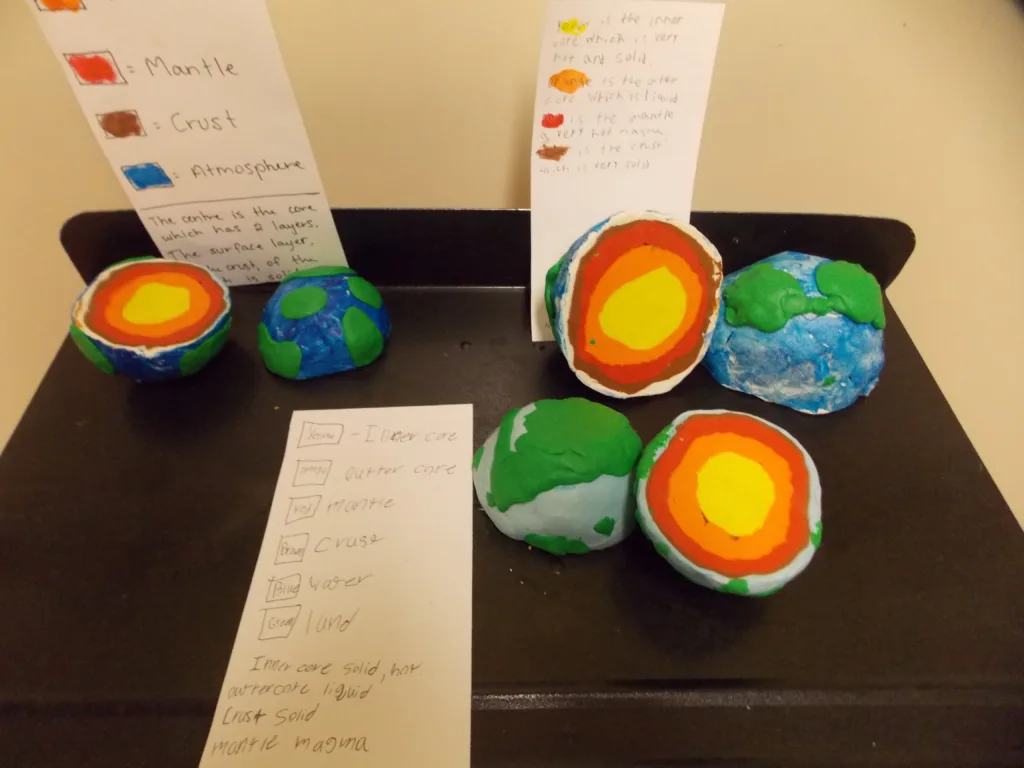
This visual activity helps you understand Earth’s internal structure.
You’ll need:
- Four colors of modeling clay or homemade dough (representing core, mantle, crust, etc.)
Steps:
- Roll each color into a ball and layer them — red (inner core), orange (outer core), yellow (mantle), green (crust).
- Slice it in half to see Earth’s cross-section.
Result:
You’ll see the layered structure of our planet and how pressure increases toward the center.
7. Make “Fossils” with Salt Dough
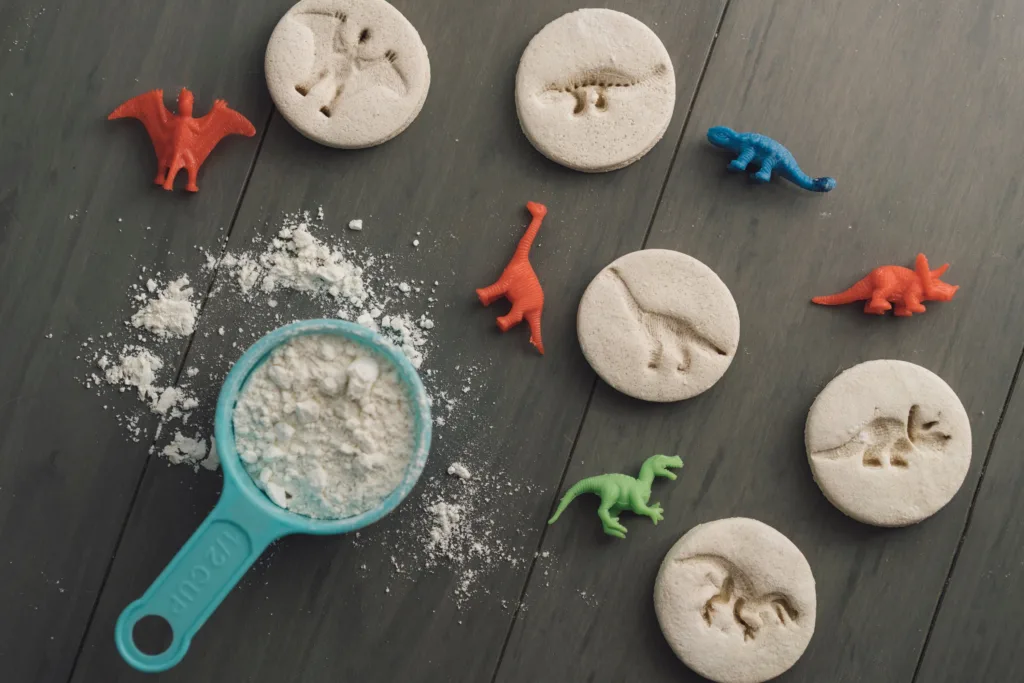
Learn how fossils form when organic material leaves an impression in sediment.
You’ll need:
- Flour, salt, and water (to make dough)
- Small shells, leaves, or toy dinosaurs
Steps:
- Flatten a piece of dough.
- Press your object into it to make an imprint.
- Bake or let it dry overnight.
What it shows:
Fossils form when living things are buried by sediment and leave impressions that harden over time.
8. Model an Earthquake with Stacked Blocks
Understand how earthquakes happen by modeling stress and fault movement.
You’ll need:
- Small wooden blocks or books
- A rubber band
Steps:
- Stack blocks to represent Earth’s crust.
- Slowly pull one side with a rubber band until tension builds — then suddenly release.
Observation:
The sudden slip mimics a fault releasing energy, just like a real earthquake.
9. Explore Erosion with Water and Sand
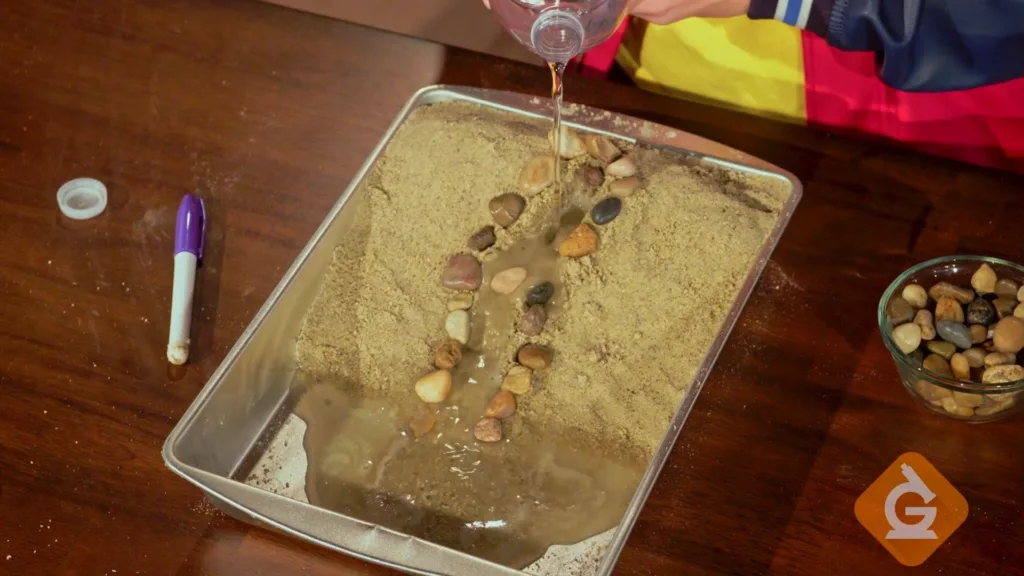
Erosion shapes landscapes every day — and you can see it in action.
You’ll need:
- A tray filled with sand
- A cup of water
- A spoon or straw
Steps:
- Form small “mountains” of sand.
- Slowly pour water or blow air through a straw.
- Watch how water carves channels and carries sediment away.
What you’ll learn:
Water and wind constantly reshape the Earth’s surface — the same forces that create canyons and river deltas.
10. Build Your Own Rock Collection
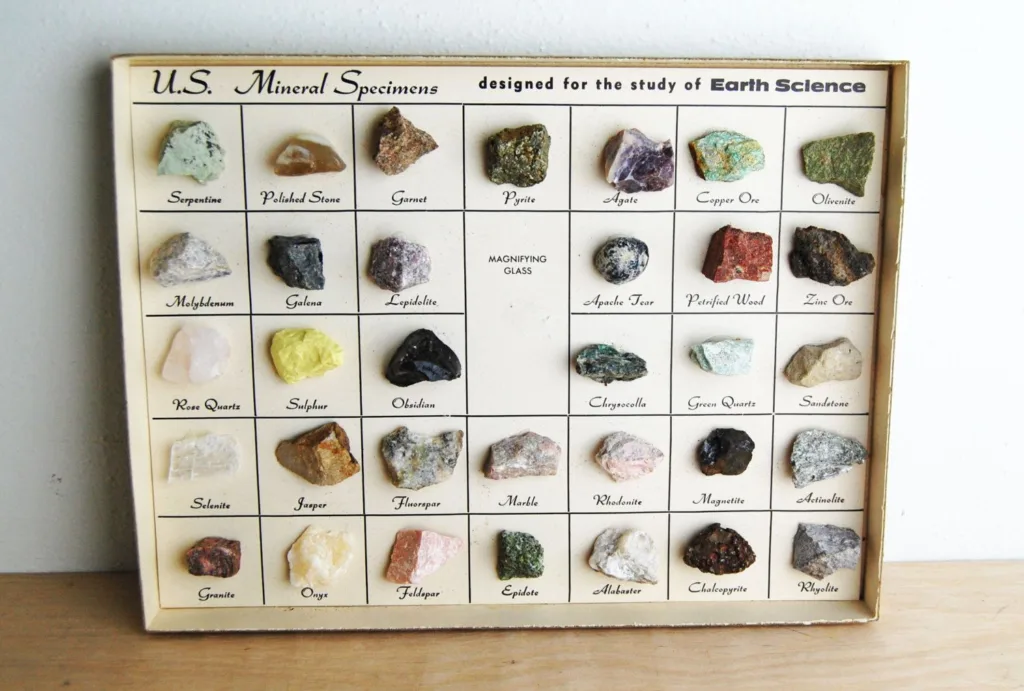
Finally, no geology exploration is complete without a rock collection.
Head outdoors to find interesting specimens — look for differences in texture, color, and hardness.
Tips:
- Label each rock with location and date.
- Use a magnifying glass to examine crystals or fossils.
- Keep notes about where you found each sample.
Result:
Over time, you’ll build your own geological record — a mini museum of Earth’s history right at home!
Final Thoughts
Geology is not just about rocks — it’s about stories written in stone.
Each of these experiments offers a glimpse into the forces that shaped our planet: fire, water, pressure, and time. Whether you’re doing these with kids, friends, or by yourself, they turn science into discovery — and curiosity into understanding.
Remember, great scientists often start with simple questions. So grab a jar, some baking soda, or just a handful of sand — and start exploring!


